USB Desktop Mic Setup for Podcasts, Streams & Meetings
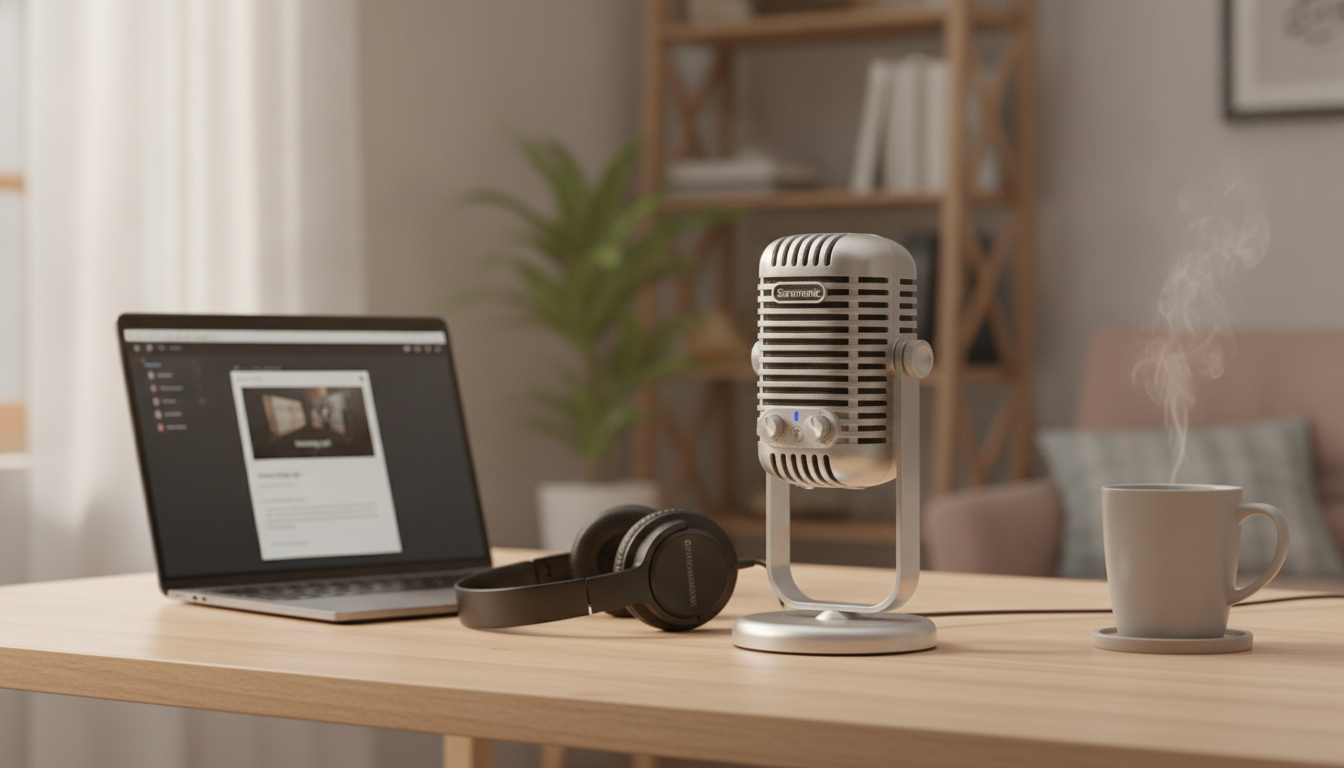
USB Desktop Microphone for Clear Podcasting, Streaming, Recording, and Online Meetings
A reliable desktop USB microphone can make voices sound cleaner, more present, and easier to understand across podcasts, live streams, voiceovers, and video calls. The difference usually comes down to practical details—pickup pattern, gain control, monitoring, placement, and room sound—so audio stays consistent whether speaking softly on a meeting or projecting on a stream. For more guidance, see USB Mic Comparison | SPS Distance Learning. For further reading, see The RPG Beginner’s Guide to Microphones, Cameras, and Streaming.
What a USB Desktop Microphone Improves Right Away
- Better voice focus than many built-in laptop mics, with less hollow room sound when positioned correctly.
- More consistent loudness for listeners, reducing the need to repeat yourself on calls or re-record lines.
- Simpler setup than XLR: direct USB connection, fewer boxes, and faster switching between work and creative use.
- More control over mic distance and angle, which often matters more than raw price for perceived clarity.
When This Mic Is a Good Fit
- Podcasting: solo narration, interviews (especially if each person has their own mic), and quick edits with consistent levels.
- Streaming: stable voice presence over game audio or music, with controllable gain to avoid clipping during louder moments.
- Recording: voiceovers, class presentations, demo videos, and short-form content where speed matters.
- Online meetings: clearer speech in Zoom/Teams/Meet, with reduced keyboard noise by aiming the mic away from the desk surface.
- Shared spaces: better results when paired with basic room control (soft furnishings, closed windows, and a consistent speaking position).
Quick Setup for Clean Audio (5 Minutes)
- Connect via USB and select the microphone as the input device in system sound settings and the meeting/recording app.
- Place the mic 6–10 inches from the mouth; keep it slightly off-center (about 30°) to reduce plosives and harsh breath noise.
- Set input level so normal speech peaks around -12 dB to -6 dB (or stays out of the red in simple meters).
- Use closed-back headphones to prevent speaker sound from feeding back into the mic.
- Do a 10-second test recording and listen for background hum; move away from fans, laptop vents, and window noise.
Fast checklist before going live
| Item | Target | Why it matters |
|---|---|---|
| Mic distance | 6–10 inches | Closer placement increases voice clarity and lowers room noise |
| Mic angle | Slightly off-center | Reduces plosives and sharp consonants |
| Input level | Peaks below clipping | Prevents distorted audio that cannot be fixed later |
| Monitoring | Headphones on | Avoids echo and feedback |
| Room noise | Fans minimized | Background noise competes with speech intelligibility |
Sound Quality Factors That Matter More Than Specs
- Pickup pattern and positioning: A well-placed mic can outperform a more expensive mic used poorly. Keep the capsule aimed toward your mouth, not your chest or the desk.
- Gain staging: Too much gain boosts room noise; too little forces heavy normalization later and can raise hiss. Aim for comfortable peaks without clipping.
- Plosives and sibilance: Reduce with angle, distance, and (if available) a pop filter or foam windscreen. Off-axis placement often helps more than EQ.
- Desk vibration: Keyboard and mouse thumps can travel through stands. Move the mic away from the direct “impact zone,” and keep the stand stable.
- Consistency: Keeping the same posture and distance helps maintain stable tone for podcasts and long meetings, so edits sound seamless.
Practical Controls to Look For During Daily Use
- Mute control: Quick privacy and cough control during calls and streams.
- Gain or volume control: Adjust on the mic without digging through system menus mid-meeting.
- Headphone monitoring (if supported): Hearing your own voice makes it easier to keep a steady distance and avoid accidental peaking.
- Stable stand: Reduces wobble and keeps the mic aimed correctly throughout a session.
- Cable management: A secure USB connection reduces dropouts and accidental unplugging mid-call.
Recommended Placement for Different Scenarios
- Online meetings: Place the mic just off the keyboard line and closer to the mouth than the laptop to reduce typing noise. If possible, angle it so the “back” of the mic faces the keyboard.
- Podcast narration: Keep the mic slightly below mouth level and off-axis; maintain a consistent speaking distance for an even, broadcast-like tone.
- Streaming: Position the mic so it doesn’t block the monitor while staying close enough to keep gain moderate (lower gain usually means less room noise).
- Instrument or ambient capture: Increase distance and reduce gain to avoid clipping; treat the room first since reflections become part of the sound.
- Two people at one desk: Better results come from two mics; one mic centered between speakers often sounds distant and echoey.
Common Problems and Simple Fixes
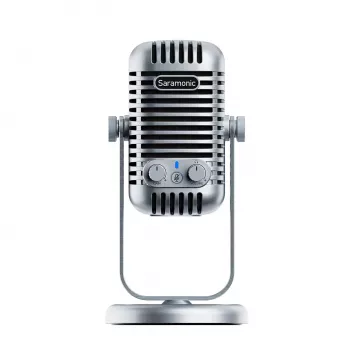
USB Desktop Microphone Option
Product at a glance
More In-Stock Picks for a Stream-Ready Routine
- Professional 1875W Hair Dryer with Negative Ions & Brushless Motor for Fast Drying (a quick prep option for on-camera days)
- Etro High-Waisted Silk Floral Pants (a polished look for presentations and live sessions)
- Interactive Soccer Table Game for Kids (an off-screen break between recording blocks)
Helpful Setup References
- Microsoft Support: Adjust microphone volume and input settings in Windows
- Zoom Support: Testing your audio before a meeting
- Google Meet Help: Change your audio settings
FAQ
Do USB microphones work with Zoom, Microsoft Teams, and Google Meet?
Yes—plug the mic in, then choose it as the input device in your app’s audio settings. If audio seems inconsistent, disable other active inputs so only one microphone is being used.
How far should a desktop microphone be from the mouth?
Typically 6–10 inches. Moving closer improves clarity and reduces room noise, and a slight off-axis angle helps prevent popping sounds.
Why does my microphone pick up keyboard clicks so loudly?
Placement and desk vibration are common causes. Move the mic closer to your mouth and farther from the keyboard, lower gain, and aim the mic away from the keys to reduce click intensity.














Leave a comment