DIY Storm Beetle 3D Puzzle: Build Tips + Display Ideas
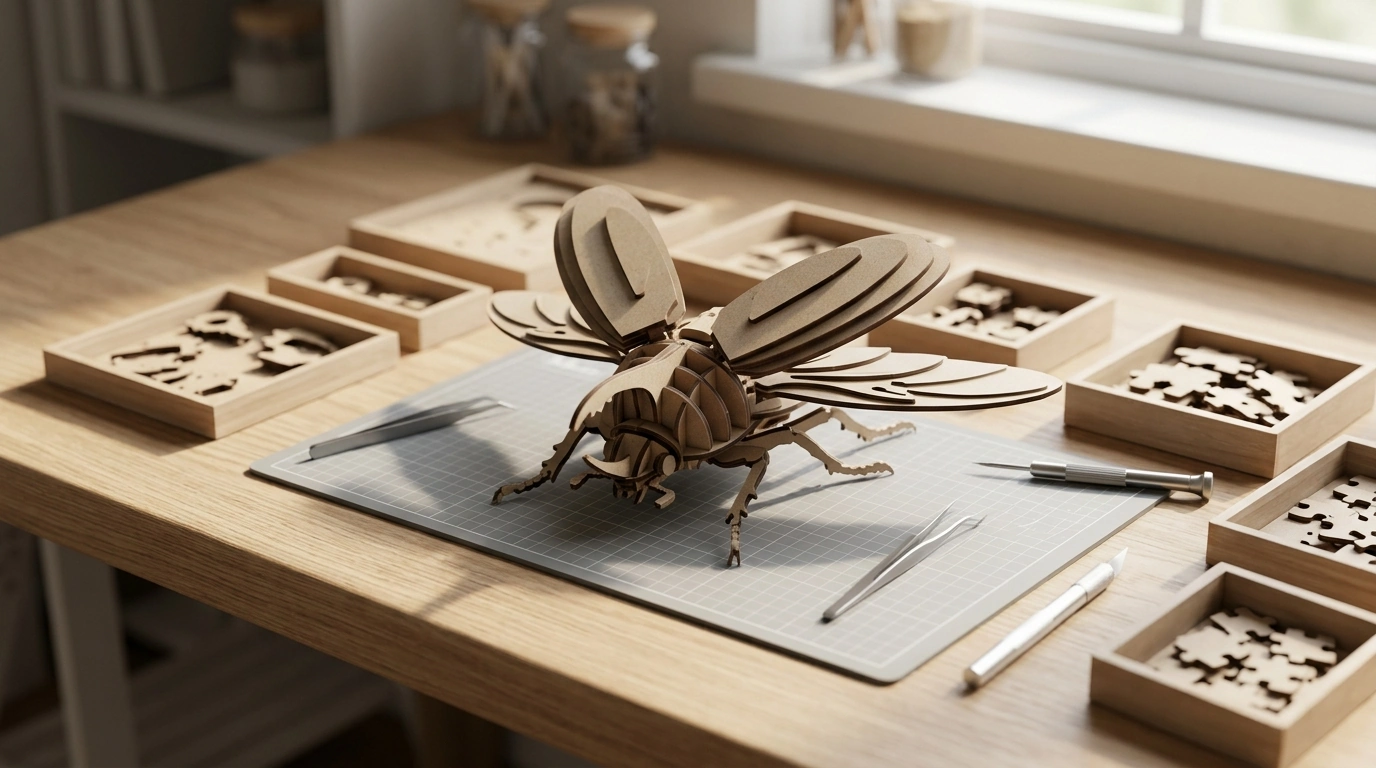
DIY Storm Beetle 3D Puzzle: Build, Display, and Gift a Striking Mechanical-Insect Model
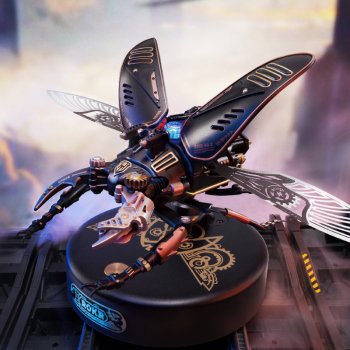
The DIY Storm Beetle 3D Puzzle is a hands-on build that turns interlocking parts into a bold beetle-inspired display piece. With a focus on careful assembly, alignment, and finish, it’s suited to makers who enjoy detail-oriented projects and want a shelf-ready model once the last piece clicks into place.
Beetles are famous for their hardened wing covers and diverse shapes—features that translate naturally into layered, armor-like model designs. For a little real-world context on beetle anatomy and variety, references like Encyclopaedia Britannica’s beetle overview and the Smithsonian’s insect information are great starting points.
What makes the Storm Beetle build so satisfying
The payoff of a beetle-themed 3D puzzle is how quickly it transforms from a pile of parts into something with presence. The Storm Beetle design leans into layered shapes and symmetry, so clean alignment isn’t just “nice to have”—it’s what makes the finished model look crisp and intentional.
- A beetle-themed 3D model that emphasizes layered shapes, symmetry, and precision fit
- A project that rewards patience: small alignment improvements noticeably change the final look
- A display-forward result that works as décor for desks, shelves, or hobby corners
- A focused activity for quiet time, weekend crafting, or screen-free challenges
Because the silhouette is so symmetrical, even tiny differences between left and right sides stand out—in a good way when everything lines up. That makes it especially satisfying for builders who like “dialing in” details until the stance and contours feel balanced.
What to expect in the kit and during assembly
Most builds in this style are structured so you assemble major sections first, then bring them together at key milestones. That pacing helps the model feel manageable, even when it includes lots of smaller pieces.
- Parts are designed to form major sections (body, legs, wing/armor elements) that come together in stages
- Expect repeated steps: matching mirrored pieces, confirming left/right orientation, and checking that joints sit flush
- The build experience typically alternates between fast progress (large body segments) and slower progress (fine details)
- Plan a clean work surface and set aside small containers for sorted pieces to prevent mix-ups
- If the kit includes tight joints, gentle pressure and correct alignment usually outperform force
A simple setup makes a noticeable difference: a well-lit table, a clear “in progress” area, and a couple of small cups or trays for sorting similar parts. It also helps to keep the instruction steps visible without constantly moving the model around.
Assembly tips for cleaner fit and fewer do-overs
For a mechanical-insect look, the “finish” is mostly created by alignment: straight seams, flush tabs, and mirrored parts that match. A few habits keep the build cleaner and reduce the odds of having to backtrack.
- Do a quick dry-fit before final joining so angles and tabs are confirmed before pressure is applied
- Work from the center outward: complete the core body first, then attach limbs/outer armor so alignment stays consistent
- Use a soft mat or folded cloth under the model to avoid scuffs while rotating it during assembly
- For repeated parts (like legs), build one side, then replicate the same sequence on the other side to keep symmetry
- Pause periodically to check stance and balance so the model sits evenly once complete
- If a connection feels wrong, stop and re-check orientation; forcing pieces can warp tabs and reduce hold
One practical trick: when you finish a limb or repeated sub-assembly, place it next to its mirrored counterpart and compare angles before attaching either to the body. Catching a subtle mismatch early is far easier than adjusting after everything locks into place.
If you’re building with small parts around kids, it’s smart to follow general toy and hobby safety guidance such as the U.S. Consumer Product Safety Commission’s toy safety resources, especially regarding age-appropriateness and safe storage.
Display ideas and long-term care
Skill-building and gifting: who it’s best for
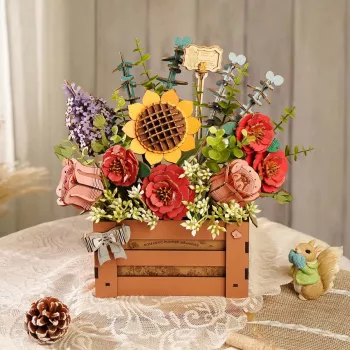
For a complementary, calmer display style, a softer décor-themed build can be a better match. If that sounds closer to the recipient, the DIY Wooden Bloom Box 3D Puzzle Kit leans into floral/home décor energy while keeping the hands-on satisfaction of a structured assembly.
Compare similar builds before choosing
| Kit | Best for | Style | Gift occasions |
|---|---|---|---|
| DIY Storm Beetle 3D Puzzle | Builders who love striking creature models | Bold, mechanical-insect display | Birthdays, hobby milestones, desk upgrades |
| DIY Wooden Bloom Box 3D Puzzle Kit | Crafters who prefer softer décor themes | Floral/home décor centerpiece | Housewarmings, Mother’s Day, craft gifts |
FAQ
How long does it take to complete the Storm Beetle build?
Most builders can finish it in a few hours, but the total time varies based on experience and how often you pause to fine-tune alignment. The core body usually goes faster, while legs and armor details tend to take longer and benefit from careful pacing.
What should be done if a piece won’t fit correctly?
Stop and re-check the step order and the piece orientation (especially left/right mirrored parts), then try a gentle re-seat after a quick dry-fit. Avoid forcing tight connections—misalignment can warp tabs and make the joint hold worse over time.
Is this a good gift for someone new to 3D puzzles?
It’s a strong gift for someone patient and detail-oriented who enjoys precise assembly and a bold finished look. For absolute beginners who prefer a calmer theme and less “mechanical” styling, a décor-forward option like a bloom-box style kit can be a friendlier first step.











Leave a comment